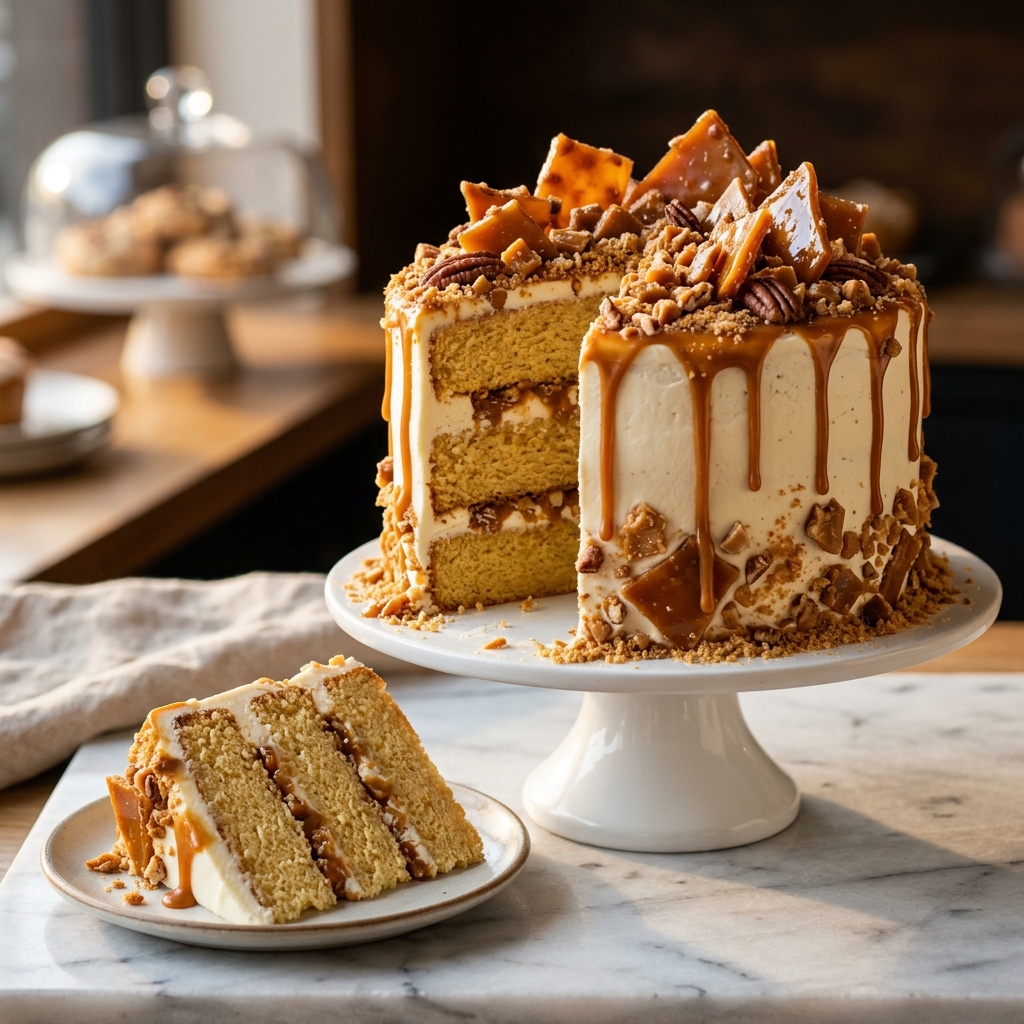
There’s something truly special about a Vanilla Sponge Cream Cake. Soft, airy sponge layers, silky whipped cream, and a delicate vanilla flavor come together to create a dessert that feels simple yet incredibly elegant. 🤍🎂
This homemade vanilla cream cake is perfect for birthdays, afternoon tea, family celebrations, dinner parties, or whenever you’re craving a light and delicious dessert. The sponge is fluffy and tender, while the creamy filling adds just the right amount of richness.
If you love soft vanilla cakes, whipped cream desserts, and bakery-style cakes, this recipe is one you’ll want to save! ✨
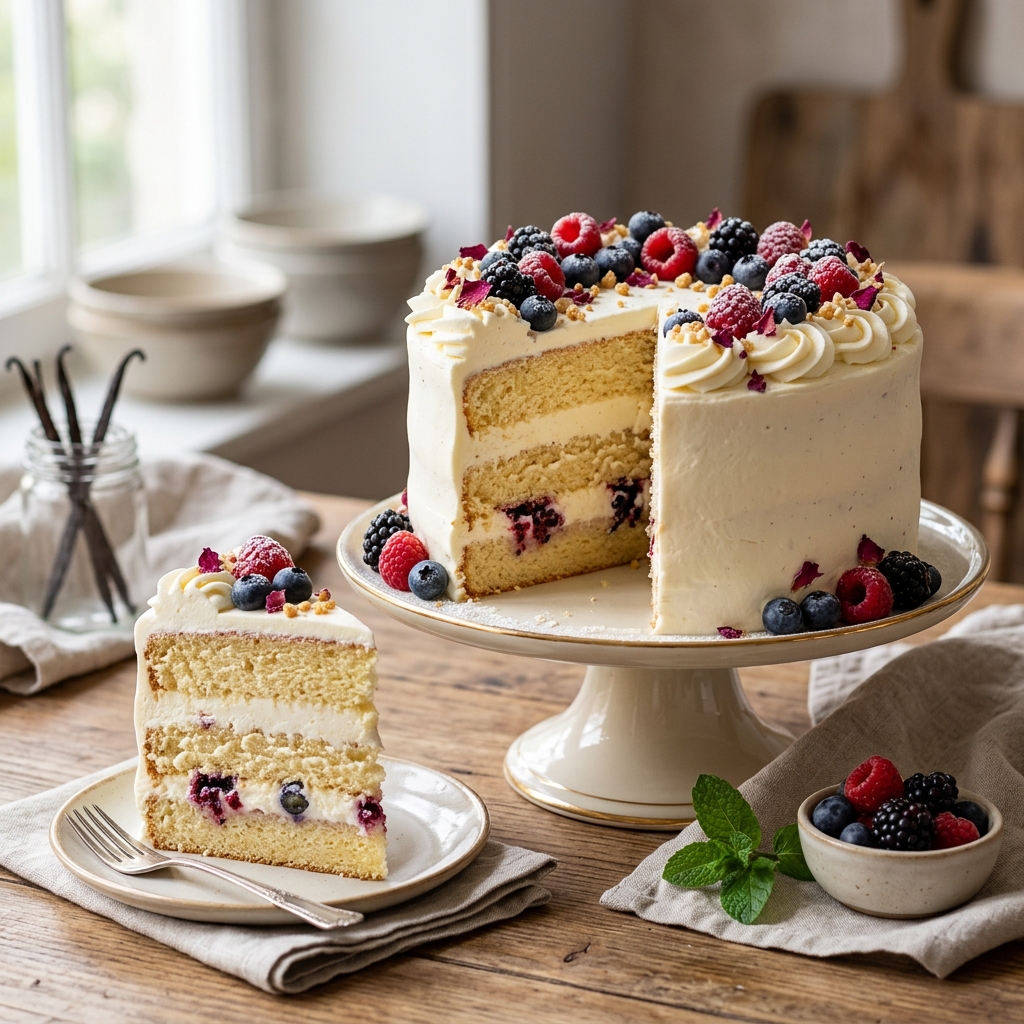
🌸 Why You’ll Love This Vanilla Sponge Cream Cake
This cake is more than just a pretty dessert. Every bite has a soft texture and creamy vanilla flavor that makes it seriously irresistible.
✨ Light & fluffy sponge – The cake layers are soft, airy, and tender.
🤍 Creamy filling – Smooth whipped cream gives every layer a deliciously creamy finish.
🍦 Beautiful vanilla flavor – Classic vanilla keeps the cake delicate and elegant.
🎂 Perfect for celebrations – Great for birthdays, parties, holidays, and special occasions.
🌸 Simple ingredients – You can create a bakery-style cake with basic ingredients.
📌 Pinterest-worthy dessert – Its soft white cream and elegant decoration make it perfect for sharing on Pinterest.
🛒 Ingredients You’ll Need
🎂 For the Vanilla Sponge
- 4 large eggs
- ¾ cup granulated sugar
- 1 teaspoon vanilla extract
- 1 cup all-purpose flour
- 1 teaspoon baking powder
- ¼ teaspoon salt
- ¼ cup melted butter
- ¼ cup milk
🤍 For the Cream Filling
- 2 cups heavy whipping cream
- ½ cup powdered sugar
- 1 teaspoon vanilla extract
🍓 For Decoration
- Fresh strawberries or berries
- White chocolate curls
- Powdered sugar
- Small vanilla cake crumbs
- Optional edible flowers
🥣✨ 1. Prepare the Vanilla Cake Batter
Start by preheating your oven to 350°F (175°C). Grease and line your cake pan with parchment paper so the sponge releases easily after baking.
In a large mixing bowl, beat the eggs and sugar until the mixture becomes pale, thick, and fluffy. This step is important because properly whipped eggs help create that beautiful light sponge texture.
Add the vanilla extract and gently mix it in.
In another bowl, whisk together the flour, baking powder, and salt. Gradually sift the dry ingredients into the egg mixture, folding gently with a spatula.
Finally, combine the melted butter with the milk and slowly fold it into the batter.
Avoid overmixing—the goal is to keep as much air in the batter as possible. ☁️🤍

🎂🔥 2. Bake Until Light & Golden
Pour the smooth vanilla batter into your prepared cake pan and gently level the surface.
Place it in the preheated oven and bake until the top becomes lightly golden and a toothpick inserted into the center comes out clean.
The kitchen will start filling with the warm, sweet aroma of vanilla. 🍦✨
Once baked, remove the cake from the oven and allow it to cool completely before adding the cream.

🤍🥄 3. Whip the Cream Until Fluffy
While the sponge cools, prepare the creamy filling.
Pour the chilled heavy cream into a cold mixing bowl. Add powdered sugar and vanilla extract, then beat until soft, fluffy peaks form.
Be careful not to overbeat the cream. You want it smooth, creamy, and spreadable—not grainy.
For the prettiest cake, keep the whipped cream chilled until you’re ready to assemble the layers. ❄️🤍

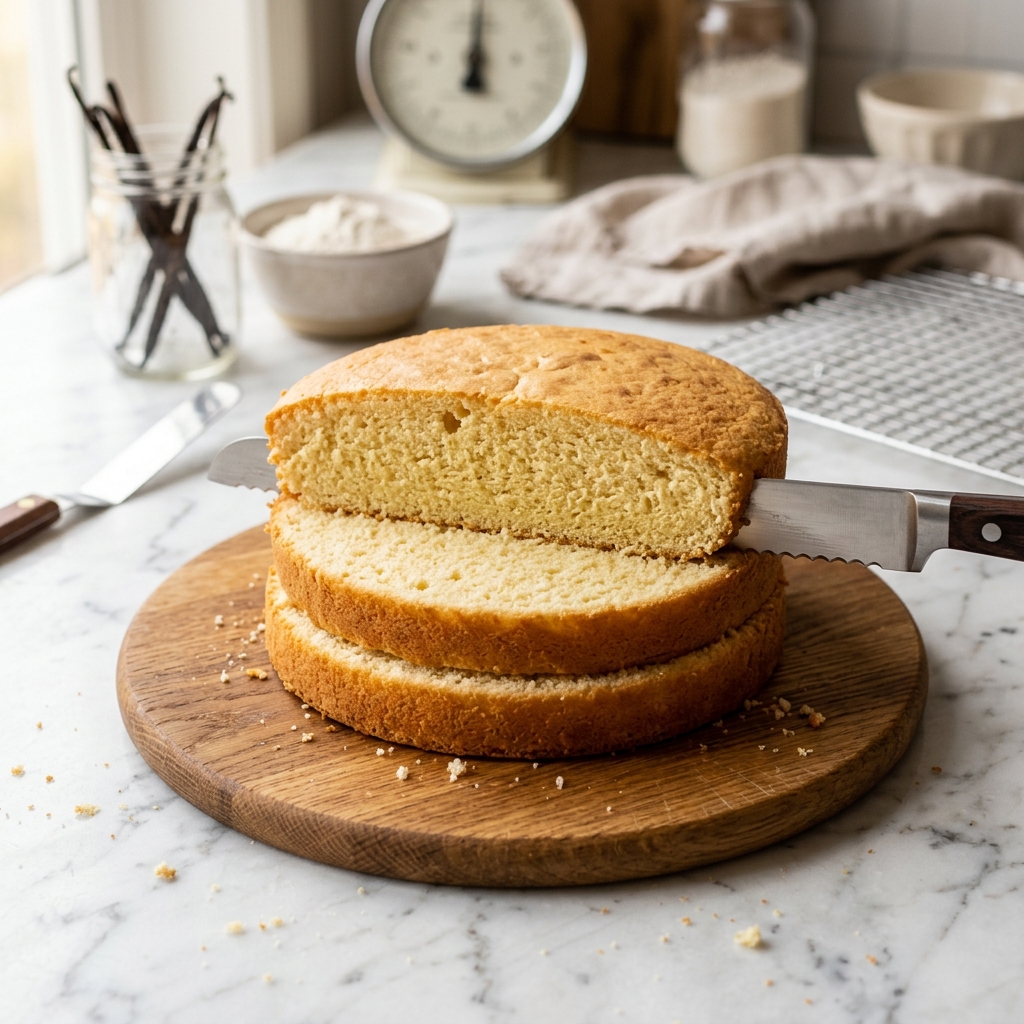
🔪🎂 4. Slice the Sponge Into Layers
Once the cake has completely cooled, place it on a flat surface.
Using a sharp serrated knife, carefully slice the sponge horizontally into 2 or 3 even layers, depending on the height of your cake.
Try to keep the layers as even as possible so the finished cake looks neat and professional.
Now comes the fun part—the creamy layers! ✨
🍰🤍 5. Build the Creamy Cake Layers
Place the first sponge layer on your cake stand.
Spread a generous layer of whipped cream over the top, making sure it reaches close to the edges. Add a few fresh berries if you want a fruity touch. 🍓
Place the next sponge layer gently on top and repeat the process.
Continue layering until all the sponge and cream have been used.
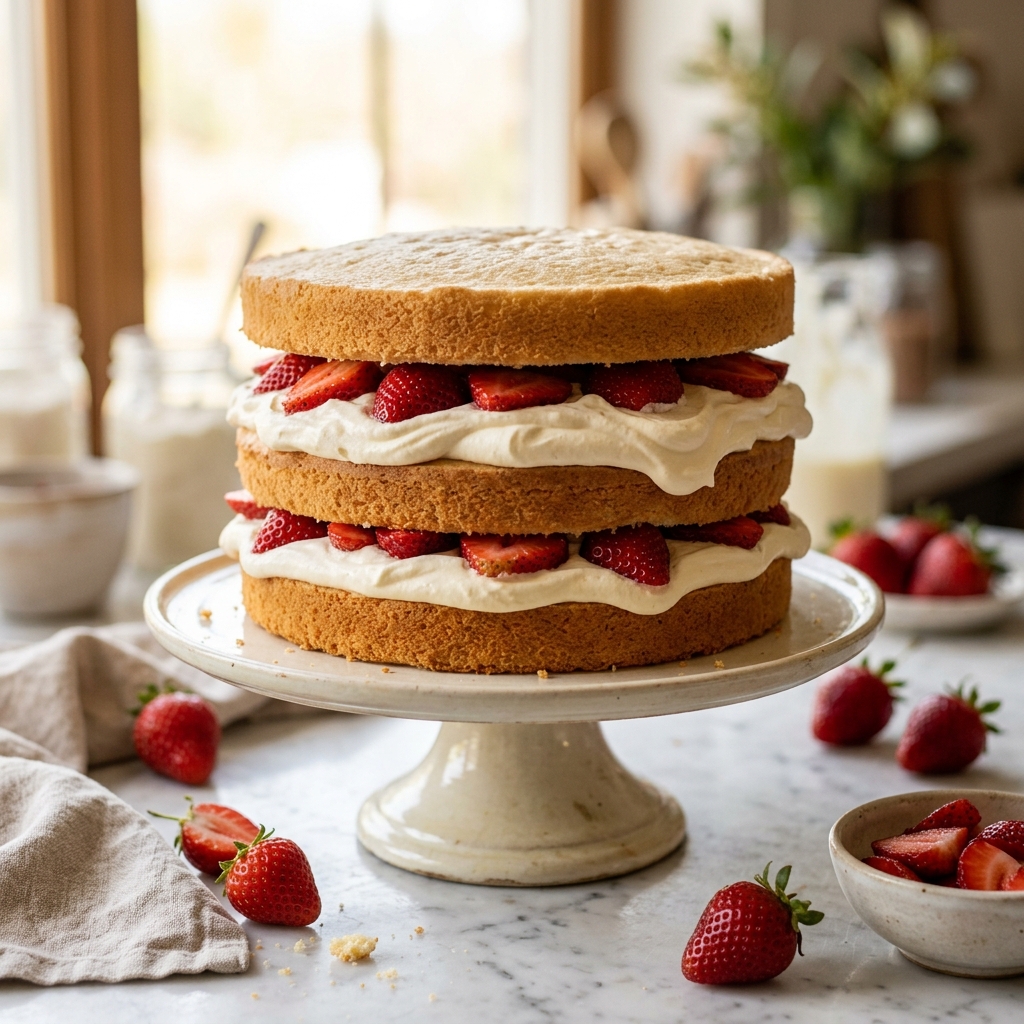
Press each layer gently so the cake stays stable without squeezing out the cream.
❄️✨ 6. Cover the Cake With Cream
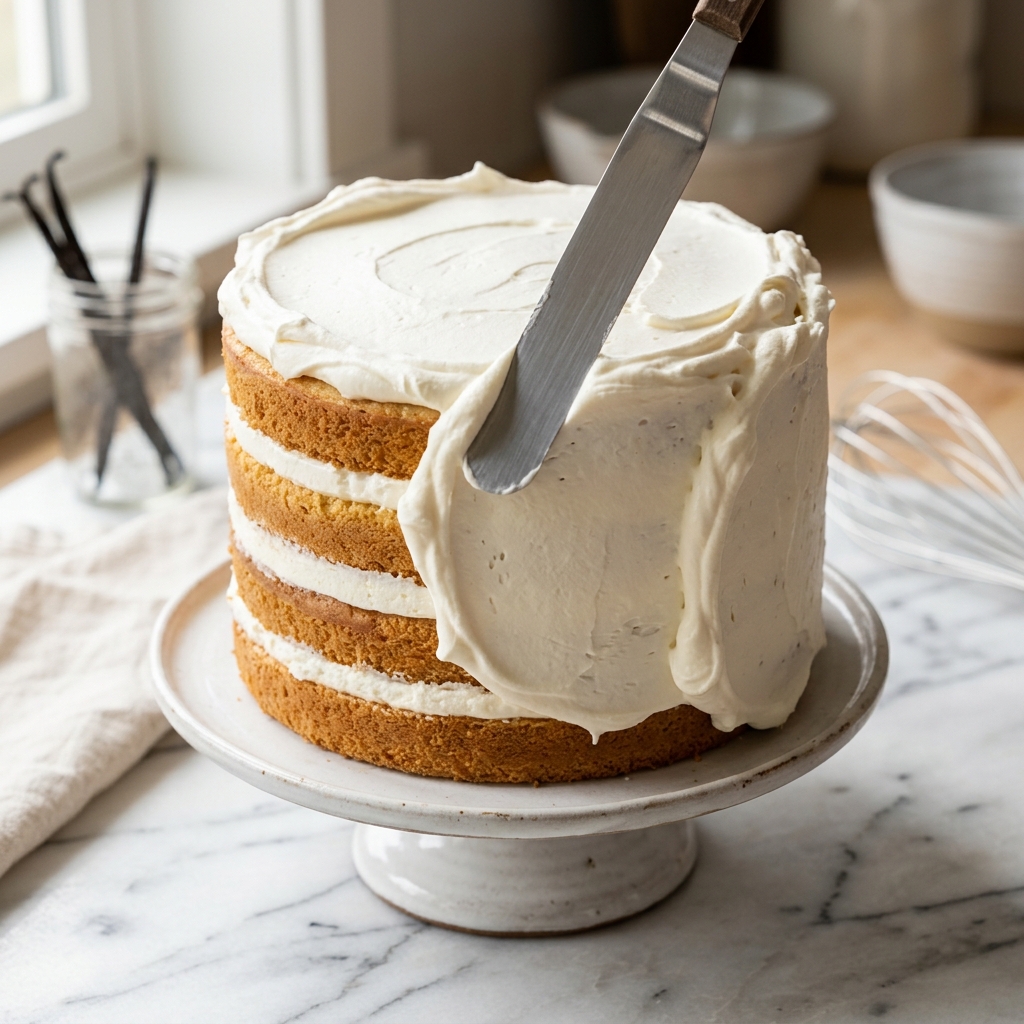
Now cover the entire cake with a smooth layer of whipped cream.
Use a cake spatula to gently spread the cream across the top and around the sides. Don’t worry if it isn’t perfectly smooth—the soft, creamy appearance gives this cake its homemade charm.
For a more elegant bakery-style finish, smooth the sides carefully and create gentle swirls on top. 🤍🎂
🍓🌸 7. Decorate Your Vanilla Sponge Cream Cake
This is where you can make your cake look truly beautiful.
Decorate the top with fresh strawberries, raspberries, blueberries, delicate white chocolate curls, or tiny vanilla cake crumbs.
You can also pipe small cream rosettes around the edges and finish with a light dusting of powdered sugar.
Keep the decoration simple and elegant so the beautiful vanilla-and-cream look remains the star of the dessert. ✨🤍

❄️🎂 8. Chill Before Serving
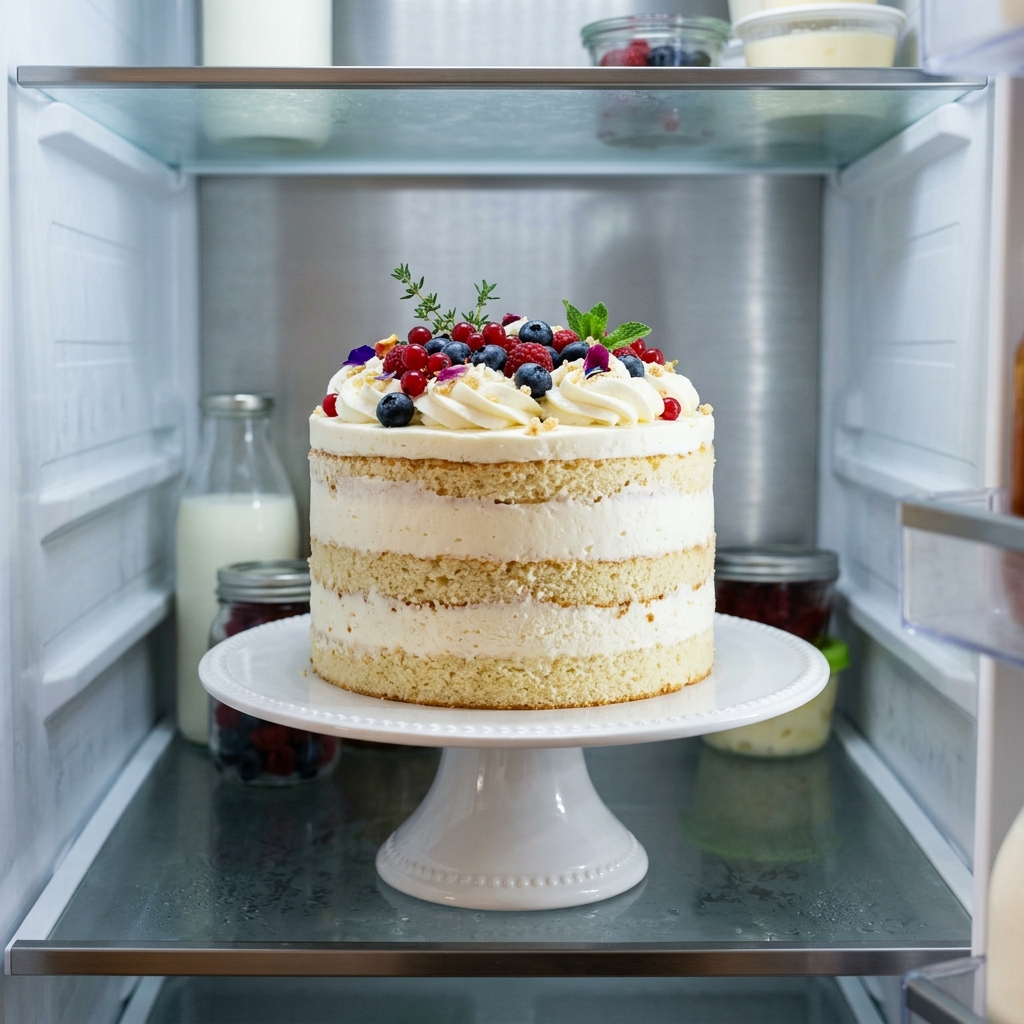
Place the finished cake in the refrigerator for at least 1–2 hours before serving.
Chilling allows the cream to set and gives the sponge time to become beautifully soft and moist.
When ready to serve, slice the cake with a sharp knife and reveal those gorgeous layers of fluffy vanilla sponge and creamy filling. 🍰🤍
💡✨ Tips for the Perfect Vanilla Sponge Cream Cake
Use room-temperature eggs: They whip more easily and help create a lighter sponge.
Don’t overmix the batter: Gentle folding keeps the air inside the mixture.
Cool the sponge completely: Adding cream to a warm cake can cause it to melt.
Keep the cream cold: Chilled cream whips better and holds its shape longer.
Use a serrated knife: It makes slicing the sponge layers much easier.
Chill before slicing: A cold cake is easier to cut into neat, beautiful pieces.
🍰🤍 How to Store Vanilla Sponge Cream Cake
Because this cake contains whipped cream, it should be stored in the refrigerator.
Place the cake in an airtight cake container and keep it chilled. For the best texture and freshness, enjoy it within 2–3 days.
Avoid leaving the cake at room temperature for long periods, especially in warm weather.
🌸🎂 Perfect Occasions for This Cake
This elegant vanilla cake works beautifully for:
🎂 Birthday celebrations
💍 Wedding and engagement parties
🌸 Bridal showers
🫖 Afternoon tea
🎉 Family gatherings
🤍 Baby showers
🍓 Weekend desserts
✨ Holiday celebrations
🍦🤍 Frequently Asked Questions
Can I make this cake ahead of time?
Yes! You can bake the sponge a day ahead and keep it covered until you’re ready to assemble the cake. Add the whipped cream closer to serving time for the freshest result.
Can I add fruit to the cream layers?
Absolutely! Strawberries, raspberries, blueberries, peaches, and sliced bananas can all add a delicious fruity flavor.
Why did my sponge cake become dense?
A dense sponge can happen when the eggs aren’t whipped enough or when the flour is overmixed into the batter. Fold the dry ingredients gently to preserve the air.
Can I use store-bought whipped cream?
Yes, but freshly whipped cream usually gives the cake a softer, fresher texture and better vanilla flavor.
🌟🍰 Final Thoughts
This Vanilla Sponge Cream Cake proves that a simple cake can still feel incredibly special. With its fluffy vanilla sponge, silky cream filling, and elegant decoration, it makes a beautiful centerpiece for almost any celebration.
Whether you’re making it for a birthday, a family gathering, or simply treating yourself to something sweet, this creamy vanilla dessert is sure to disappear quickly. 🤍✨
Save this recipe to Pinterest 📌 and come back whenever you’re craving a soft, creamy, bakery-style vanilla cake! 🎂🌸
📌 SEO Keywords
Vanilla Sponge Cream Cake, vanilla cream cake, vanilla sponge cake recipe, fluffy vanilla cake, whipped cream cake, homemade vanilla cake, soft vanilla sponge cake, vanilla birthday cake, creamy vanilla cake, easy vanilla cake recipe, bakery style vanilla cake, vanilla layer cake.