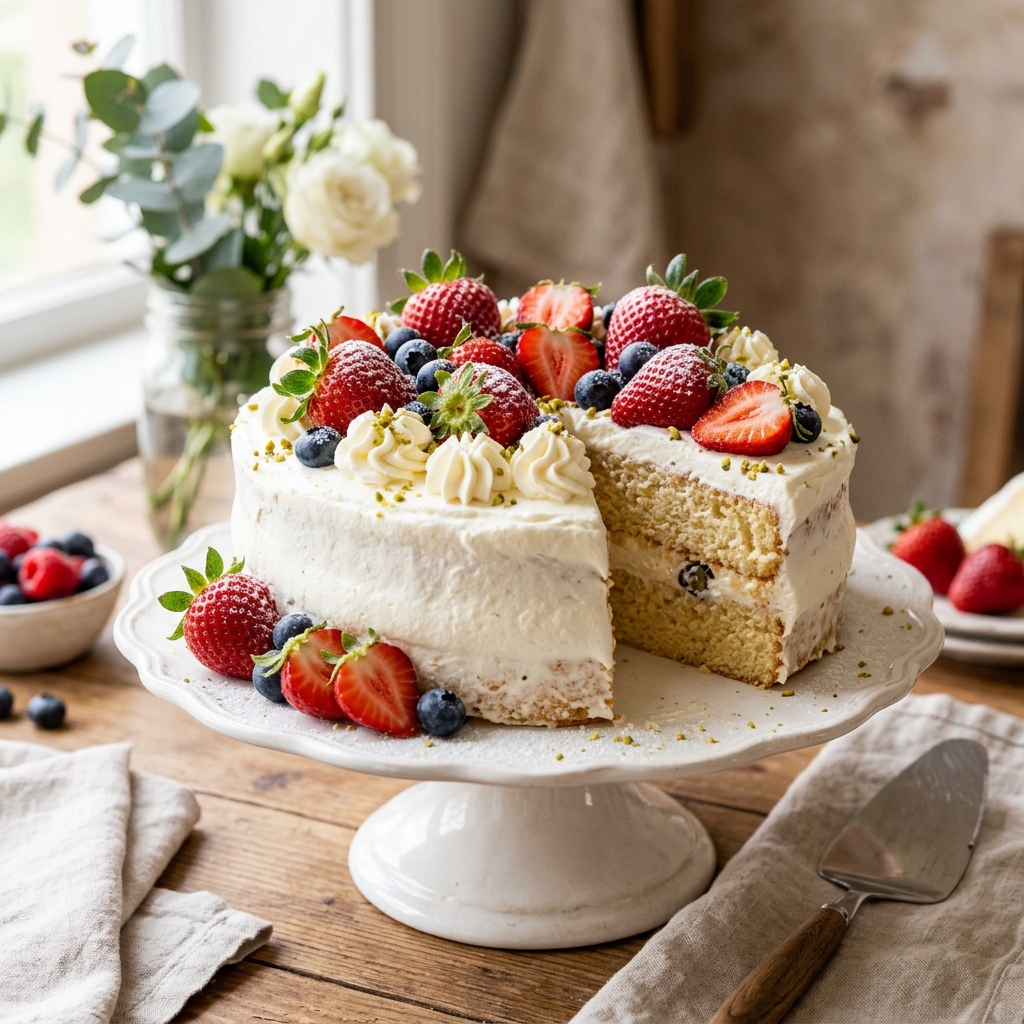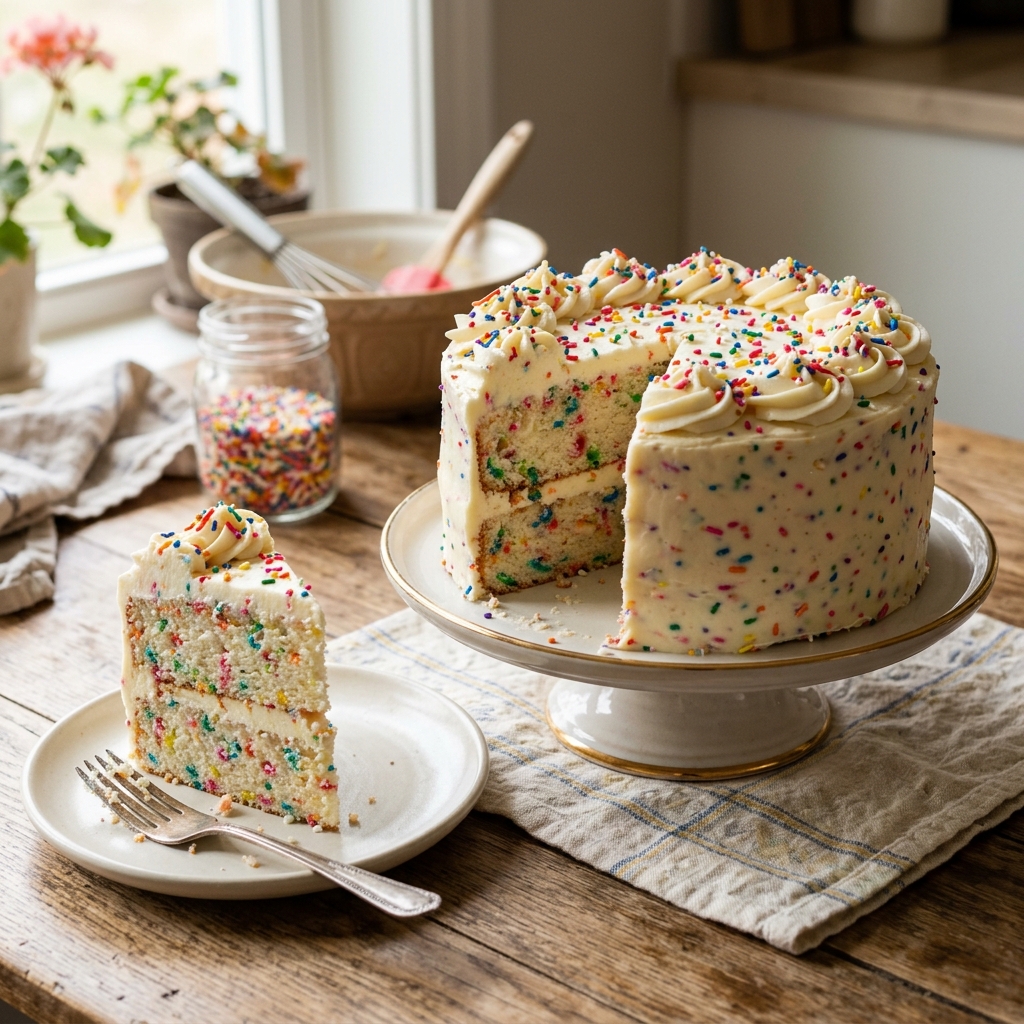
If you love soft cakes, creamy frosting, and colorful sprinkles, this Funfetti Cream Cake is the perfect dessert to make. With fluffy vanilla cake layers, a smooth creamy frosting, and plenty of colorful sprinkles, every slice looks as beautiful as it tastes.
This cheerful cake is perfect for birthdays, celebrations, family gatherings, or simply when you want to make an ordinary day feel special. If you enjoy beautiful dessert inspiration like cheesecake factory linda recipes and popular Pinterest-style cakes, this funfetti cake is definitely worth adding to your collection.

🌈✨ Why You’ll Love This Funfetti Cream Cake
This cake is soft, colorful, creamy, and incredibly easy to customize. The colorful sprinkles give the cake a fun appearance, while the creamy frosting adds a rich and smooth finish.
You’ll love this recipe because:
- 🎂 The cake is soft and fluffy
- 🌈 Colorful sprinkles make it beautiful
- 🤍 Creamy frosting gives it a rich texture
- 🎉 Perfect for birthdays and celebrations
- 📌 Looks amazing in Pinterest photos
- 🍰 Easy to decorate in your own style
- ✨ Can be customized with different sprinkles
🛒🥣 Ingredients You’ll Need
For the Funfetti Cake
- 2 cups all-purpose flour
- 1½ teaspoons baking powder
- ½ teaspoon baking soda
- ¼ teaspoon salt
- ½ cup unsalted butter, softened
- 1 cup granulated sugar
- 2 large eggs
- 2 teaspoons vanilla extract
- ¾ cup buttermilk
- ½ cup colorful rainbow sprinkles
For the Creamy Frosting
- 1 cup heavy whipping cream
- ½ cup powdered sugar
- 1 teaspoon vanilla extract
- 8 oz cream cheese, softened
For Decoration
- Rainbow sprinkles
- Extra whipped cream
- Colorful cake sprinkles
- Small decorative sugar pearls, optional
🥣✨ 1. Prepare the Funfetti Cake Batter
Start by preheating your oven and preparing your cake pans with parchment paper and a light coating of butter or cooking spray.
In a large mixing bowl, combine the flour, baking powder, baking soda, and salt. In another bowl, beat the softened butter and sugar until light and fluffy.
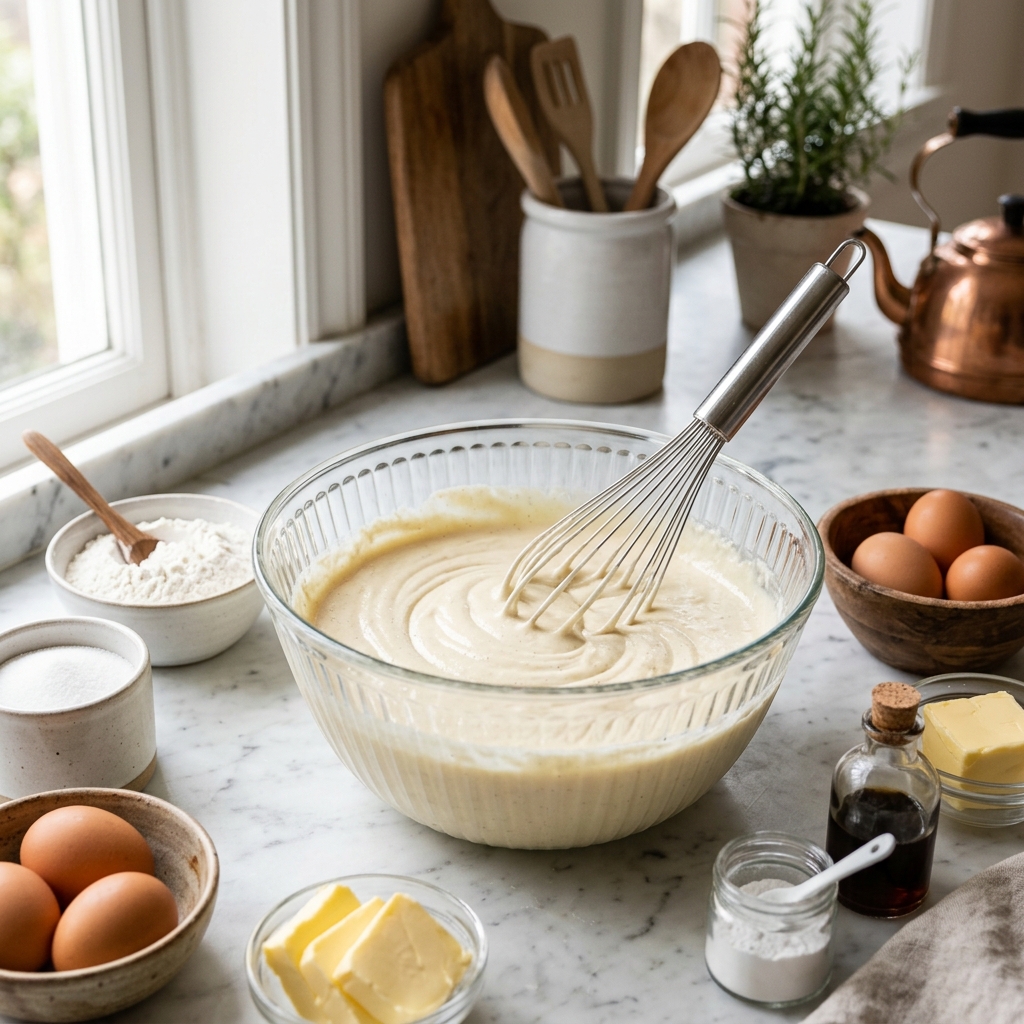
Add the eggs one at a time, mixing well after each addition. Stir in the vanilla extract. Gradually add the dry ingredients and buttermilk, mixing gently until you have a smooth cake batter.
Finally, fold in the colorful rainbow sprinkles. Mix carefully so the sprinkles stay bright and evenly distributed throughout the batter.
🌈🥄 2. Add the Colorful Sprinkles
Gently fold the rainbow sprinkles into the prepared batter using a spatula. Avoid overmixing because too much mixing can cause the cake batter to lose its light texture.
The colorful sprinkles should be spread throughout the batter, creating beautiful little pops of color that will appear in every slice.

🎂🔥 3. Bake Until Light & Golden
Pour the funfetti batter evenly into your prepared cake pans. Smooth the tops gently with a spatula.
Place the pans in the preheated oven and bake until the cake layers are lightly golden and a toothpick inserted into the center comes out clean.
Once baked, allow the cake layers to cool in their pans for a few minutes before transferring them to a cooling rack.
Let the layers cool completely before adding the frosting.

🤍🥄 4. Prepare the Creamy Frosting
While the cake cools, prepare the creamy frosting.
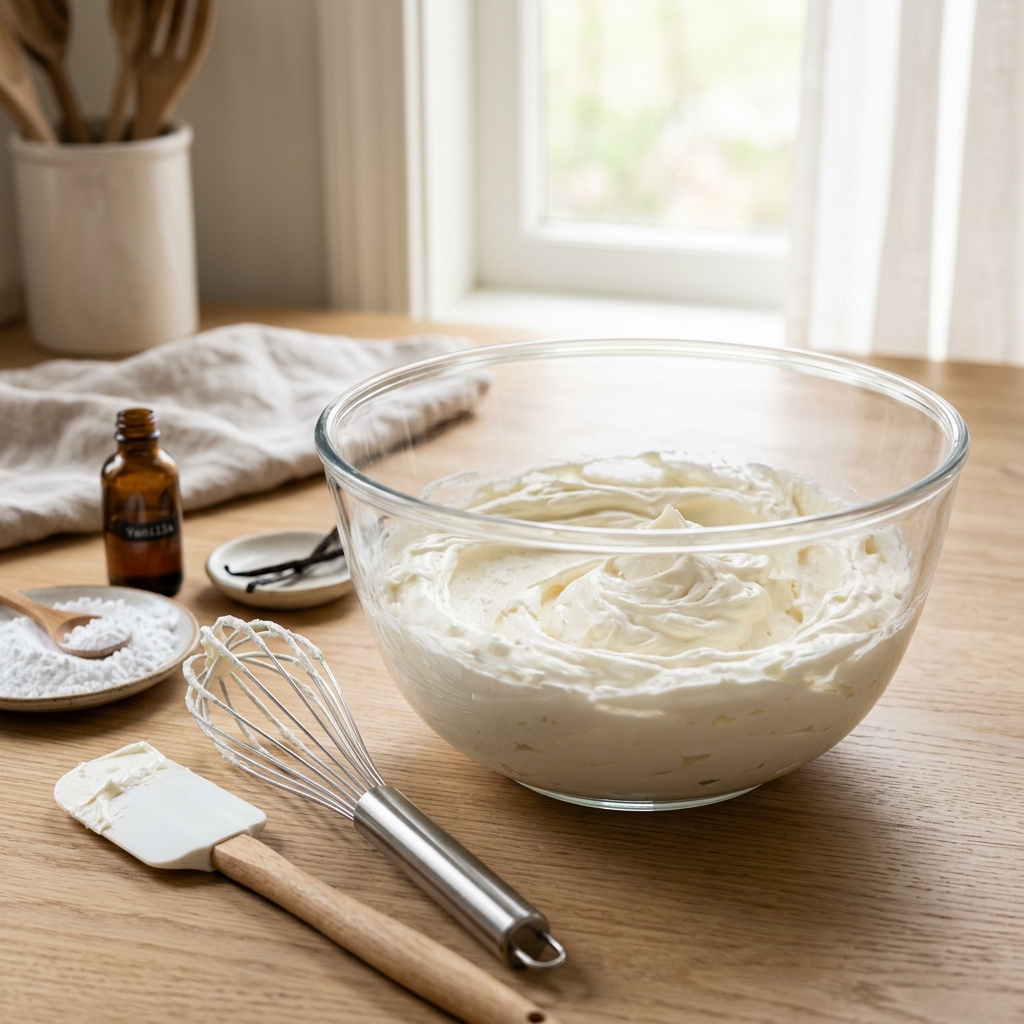
Beat the softened cream cheese until smooth. Add the powdered sugar and vanilla extract and mix until creamy.
In a separate bowl, whip the heavy cream until soft peaks form. Gently fold the whipped cream into the cream cheese mixture until you have a light, fluffy, and smooth frosting.
The frosting should be creamy enough to spread easily over the cake without becoming too runny.
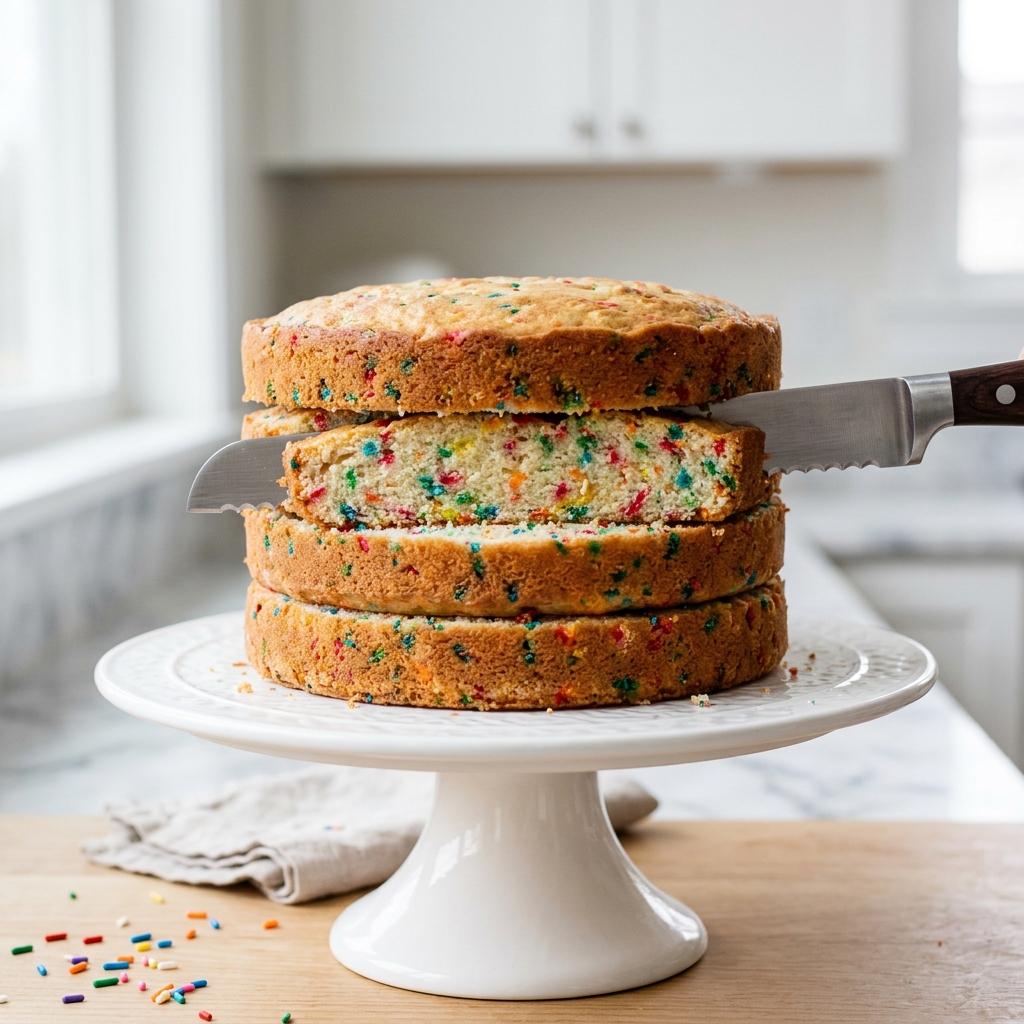
🔪🎂 5. Slice the Cake Into Layers
Once the cake has completely cooled, carefully slice each cake layer if needed to create even layers.
Use a sharp serrated knife and gently work around the cake to keep the layers neat and level.
The colorful sprinkles inside the cake will give each layer a beautiful funfetti appearance.
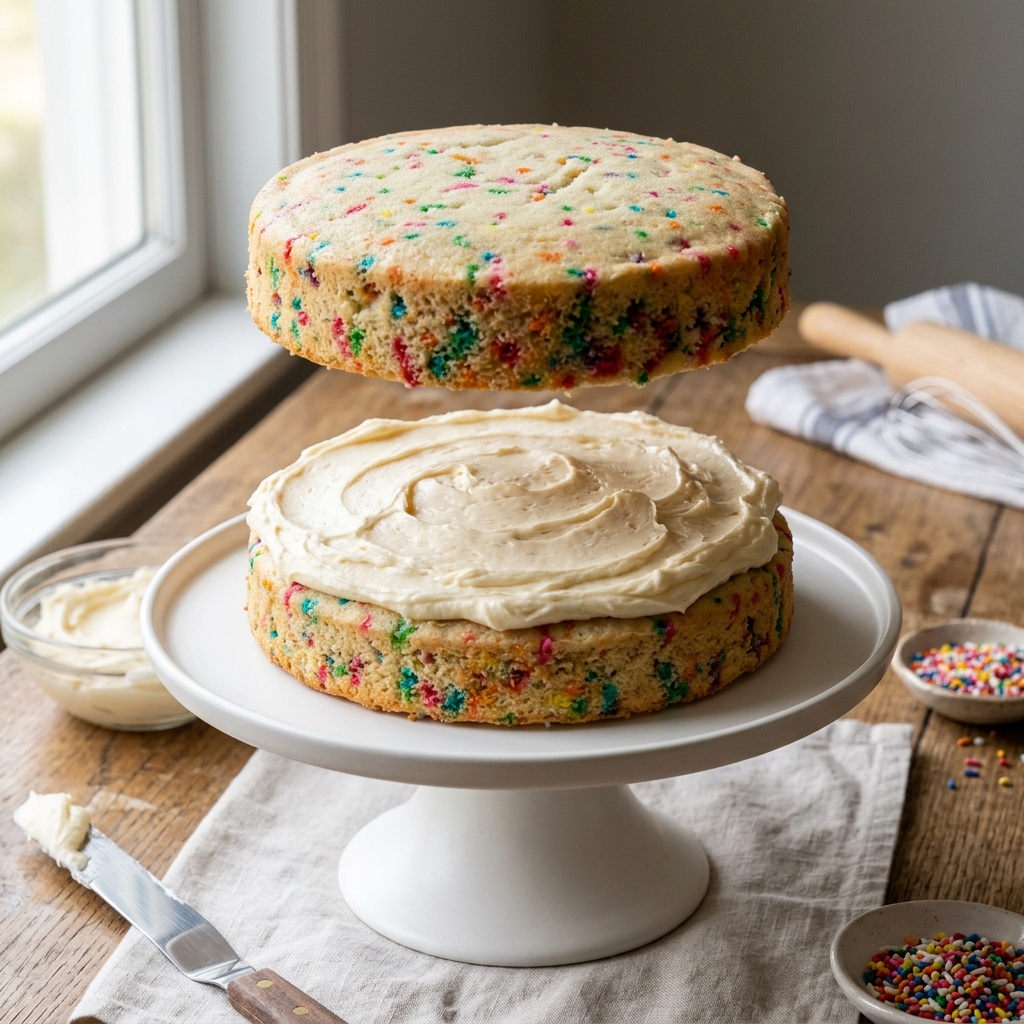
🍰🤍 6. Build the Creamy Cake Layers
Place the first cake layer on a cake stand or serving plate.
Spread an even layer of creamy frosting over the top. Add the next cake layer and repeat the process until all the layers are stacked.
Make sure each layer is centered so the finished cake looks neat and balanced.
❄️✨ 7. Cover the Cake With Creamy Frosting
Use the remaining frosting to cover the top and sides of the cake.
Spread the frosting gently with a cake spatula to create either a smooth finish or a soft textured design.
For a Pinterest-worthy look, keep the frosting bright, clean, and elegant while allowing the colorful sprinkles to become the main decorative feature.

🌈🎉 8. Decorate Your Funfetti Cream Cake
Now comes the most fun part—decorating!
Cover the top of the cake with colorful rainbow sprinkles. You can also add small swirls of whipped cream around the edges and finish them with extra sprinkles.
For an extra festive appearance, add colorful sugar pearls or small edible decorations.
The combination of creamy white frosting and bright rainbow sprinkles creates a beautiful cake that photographs wonderfully for Pinterest.

❄️🍰 9. Chill Before Serving
Place the finished Funfetti Cream Cake in the refrigerator for a little while before serving.
Chilling allows the frosting to become firmer and helps the cake layers hold together when sliced.
When you’re ready to serve, take the cake out and let it sit for a few minutes so the texture becomes soft and creamy.

🍽️🌈 How to Serve Funfetti Cream Cake
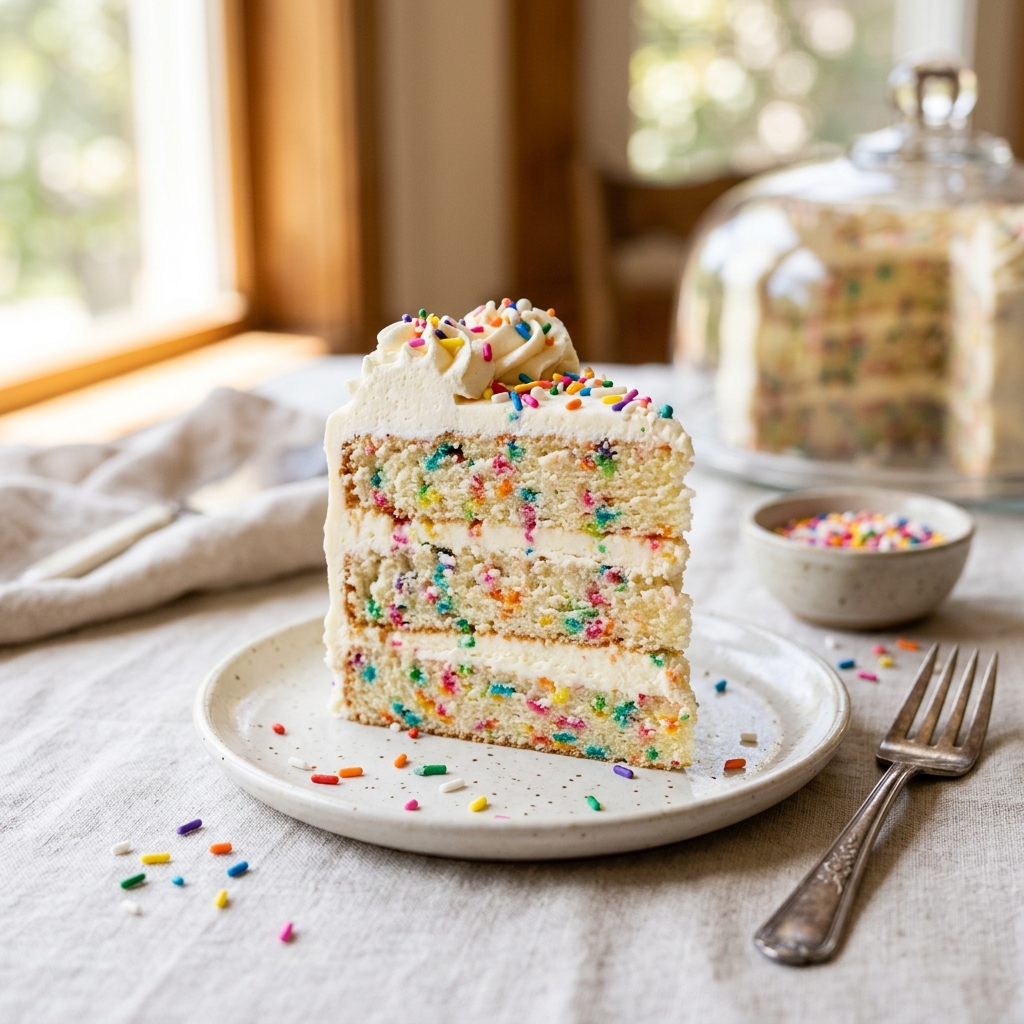
Slice the chilled cake with a sharp knife and serve each piece with plenty of colorful sprinkles.
For an extra special dessert, serve it with fresh berries, a little whipped cream, or a scoop of vanilla ice cream.
This cake is especially beautiful on a simple white serving plate because the colorful sprinkles stand out.
💡✨ Tips for the Perfect Funfetti Cream Cake
- Use jimmies-style sprinkles for the best colorful appearance.
- Avoid overmixing the batter after adding the sprinkles.
- Let the cake layers cool completely before frosting.
- Use room-temperature cream cheese for a smoother frosting.
- Chill the finished cake before slicing.
- Add sprinkles just before serving if you want them to stay extra colorful.
- For Pinterest photos, cut one slice and show the colorful sprinkles inside the cake.
🧁🌈 Fun Ways to Customize This Cake
You can easily make this cake your own by changing the sprinkle colors.
For a birthday party, use bright rainbow sprinkles. For a baby shower, choose soft pastel colors. For a holiday celebration, use seasonal sprinkle combinations.
You can also add a thin layer of strawberry or vanilla filling between the cake layers for another delicious flavor.
📌💖 Why This Cake Is Perfect for Pinterest
Funfetti Cream Cake is naturally eye-catching because of its bright colors and beautiful creamy layers. A close-up slice showing colorful sprinkles inside the fluffy cake can make a great Pinterest image.
For your Blume Belley blog, use bright natural lighting, a clean background, colorful sprinkles, and a beautiful cake slice in your main image. This helps make the recipe visually appealing while keeping the focus on the dessert.
🎂🌈 Final Thoughts
This Funfetti Cream Cake combines everything you want in a celebration dessert—soft vanilla cake, creamy frosting, colorful sprinkles, and a beautiful presentation.
Whether you’re making it for a birthday, party, family gathering, or simply because you love colorful desserts, this cake is a fun and delicious choice.
If you enjoy discovering beautiful cake inspiration, baking ideas, and Pinterest-friendly desserts, save this recipe and come back whenever you’re ready to bake something special. ✨